Creating personalized ringtones can add a unique touch to your iPhone, and what better way to do it than with GarageBand, Apple’s versatile music-making tool. Music enthusiasts and iPhone owners alike can celebrate their creativity by setting a custom ringtone that resonates with their personal taste. In today’s guide, we’re exploring the simplest path to crafting your own DIY ringtone using GarageBand.
Step 1: Open GarageBand and Select Your Tune
Firstly, launch GarageBand on your iPhone. You’ll be prompted to choose an instrument to get started; you can select any instrument, as this won’t affect your ability to create a ringtone. Once you’re in, tap on the ‘+’ icon to create a new project. Here, you have the option to either record live music or import a track from your music library to edit.
Step 2: Edit Your Track
After you’ve chosen your song, it’s time to edit. Drag the edges of the track to adjust the start and end points, keeping in mind that ringtones typically last 30 seconds. You can also split and rearrange sections of the track by tapping on the scissors icon. Play around with different cuts until you find a loop that stands out.
Step 3: Add Effects (Optional)
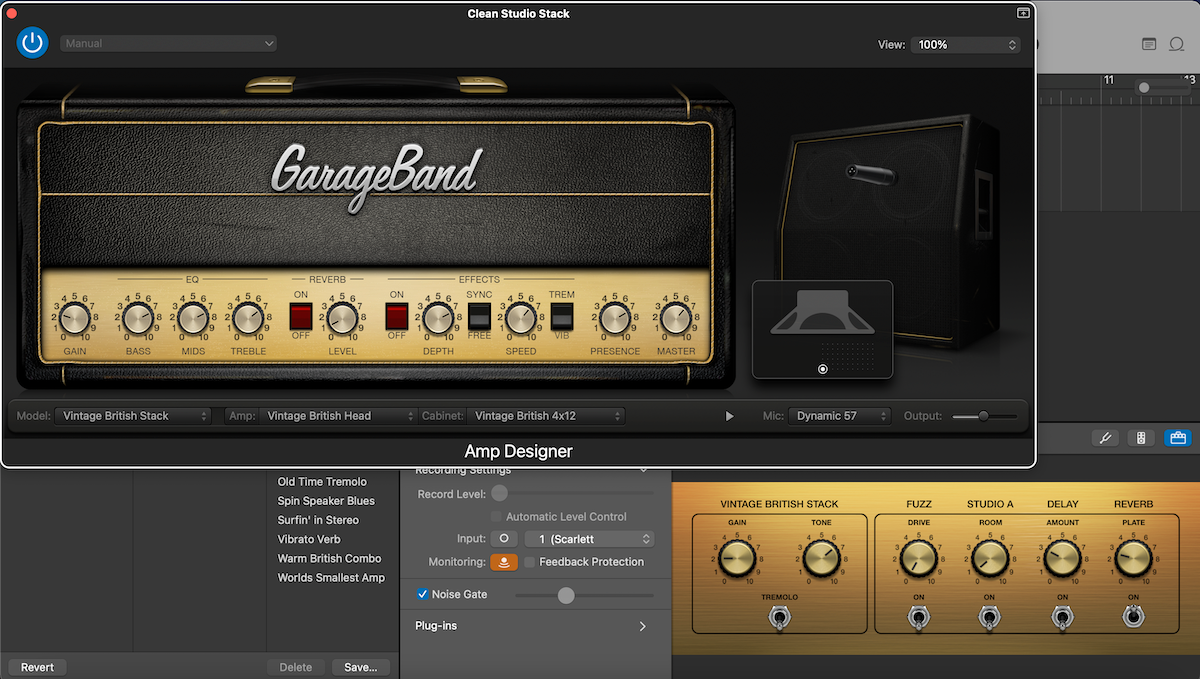
GarageBand offers a range of effects and filters that you can apply to your ringtone. Whether you’re looking for something funky with a bit distortion or something clean and simple, experiment with these options to personalize your tone.
Step 4: Export Your Creation
Once you’re satisfied with your ringtone, it’s export time. Click the downward arrow in the top-left corner and select ‘My Songs;’ this will save your edit. Then, press and hold on the song to bring up additional options, and tap on ‘Share’ followed by ‘Ringtone.’ Give your ringtone a name and hit ‘Export.’
Step 5: Set Your New Ringtone
Head to ‘Settings’ on your iPhone, and then ‘Sounds & Haptics.’ Tap ‘Ringtone,’ and your new GarageBand creation should appear at the top of this list. Just select it, and voilà – your DIY ringtone is now set!
Conclusion: Enjoy Your Personalized Ringtone
With these simple steps, you’ve transformed a snippet of your favorite tune into a ringtone that’s distinctly yours. GarageBand makes it easy for anyone, regardless of musical prowess, to add that special, personalized touch to their iPhone.
Remember, the key to a great ringtone lies in choosing a memorable part of a song that you’ll enjoy hearing time and time again. Have fun experimenting with GarageBand ringtones and show off your DIY skills with every call that comes through.
For those seeking to learn more about the functionalities of GarageBand or to get tips on creating their own music, stay tuned for upcoming posts! Creating GarageBand ringtones is just the beginning. Happy ringtone crafting!
Please note that the availability of songs depends on copyright permissions, so make sure to use music that you’re legally allowed to edit and share.
If you appreciate this post, feel free to share it with your music-loving friends and fellow iPhone users. To receive more insights on GarageBand, creating DIY ringtones, and engaging in other innovative sound projects, remember to subscribe to our newsletter.

