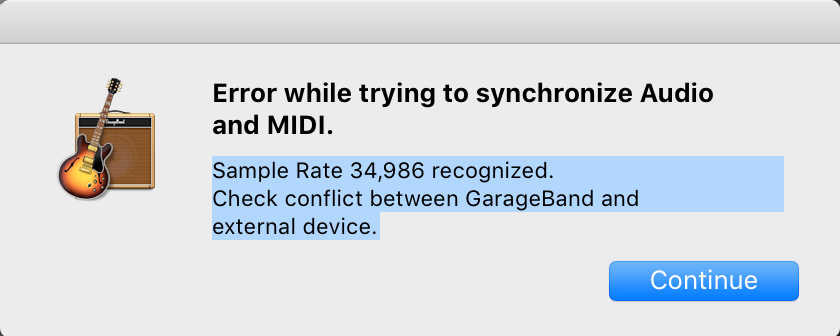
GarageBand has empowered musicians and podcasters around the globe with its user-friendly interface and a broad array of features for creating professional-quality music and audio content. However, when it comes to syncing audio and MIDI tracks, users may sometimes encounter frustrating errors. Understanding these issues and knowing how to resolve them can significantly enhance your GarageBand experience. Below, we’ll explore the common causes behind sync errors and offer practical solutions to get your tracks perfectly aligned.
Common Causes of Sync Errors
- Mismatched Sample Rates: A difference in sample rates between audio and MIDI tracks can lead to sync issues.
- Latency Issues: An audio signal lagging behind the MIDI input, known as latency, can disrupt your flow and affect recording quality.
- Timecode Drift: Over time, audio and MIDI can gradually fall out of sync due to timecode drift, a mismatch between the clock of the audio interface and the MIDI device.
- Overloaded CPU: High CPU load can cause processing delays, impacting the synchronization between tracks.
- Human Error: Incorrect manual adjustments of track timing or wrong quantization settings can result in sync discrepancies.
Also Read: How to Fade on GarageBand?
Solutions and Troubleshooting Steps
1. Ensure Matching Sample Rates
Go to GarageBand preferences and check the sample rate of your session. Make sure that your audio interface and MIDI tracks are set to the same sample rate to avoid mismatches.
2. Minimize Latency Issues:
Access your audio interface’s settings and adjust the buffer size. A lower buffer size can reduce latency, but be cautious as too low a setting might overload your CPU. Finding a balance is key.
3. Combat Timecode Drift:
If your setup allows, use an external MIDI clock source to ensure consistent timing between audio and MIDI devices. This can help maintain sync throughout your session.
4. Reduce CPU Load:
- Close unnecessary applications while running GarageBand to free up system resources. Consider increasing your computer’s memory for more demanding projects.
- Monitor the CPU/Performance meter in GarageBand. If you notice high levels, try freezing tracks or using bounce-in-place for tracks with heavy effects.
5. Be Precise with Manual Adjustments:
When manually adjusting track timing or applying quantization, zoom in closely on the waveform to ensure precise alignment. Use GarageBand’s quantization features to adjust MIDI timing errors, but do so carefully to maintain musicality.
You Must Check: How to Speed Up a Track in GarageBand
Additional Tips
1. Familiarize Yourself with GarageBand’s Sync Settings: Explore GarageBand’s preferences and settings related to MIDI and audio interfaces. Understanding these options can help prevent errors before they occur.
2. Update Your Software and Drivers: Ensure that GarageBand, your operating system, and audio interface drivers are up to date. This can resolve issues related to software bugs or compatibility problems.
3. Use Quality Cables and Hardware: Poor quality cables or malfunctioning hardware can introduce latency or synchronization issues. Invest in high-quality cables and check your hardware regularly for any signs of wear or damage.
Final Thoughts
Syncing issues between audio and MIDI in GarageBand can stem from various sources, ranging from technical mismatches to human error. By systematically addressing each potential cause, you can improve the synchronization in your sessions, leading to a smoother production process and higher quality recordings. Remember, patience and attention to detail are your best tools when troubleshooting and resolving these types of problems.

