When it comes to home recording, the combination of Focusrite’s Scarlett Solo and Apple’s Garageband software offers a powerful, user-friendly platform for musicians and content creators. The Scarlett Solo, known for its plug-and-play simplicity, compact design, and high-quality audio recording, is an excellent choice for anyone looking to record studio-grade audio from the comfort of their home.
In this guide, we’ll explore how to seamlessly integrate the Scarlett Solo with Garageband, ensuring you get the most out of your recording sessions.
Introduction: The Perfect Pairing
Why choose Focusrite’s Scarlett Solo for your Garageband projects? The answer lies in its unparalleled audio fidelity, ease of use, and compatibility with almost any computer setup. It’s the ideal interface for singer-songwriters or any creative looking to capture clear, detailed recordings without navigating through complex setup processes.
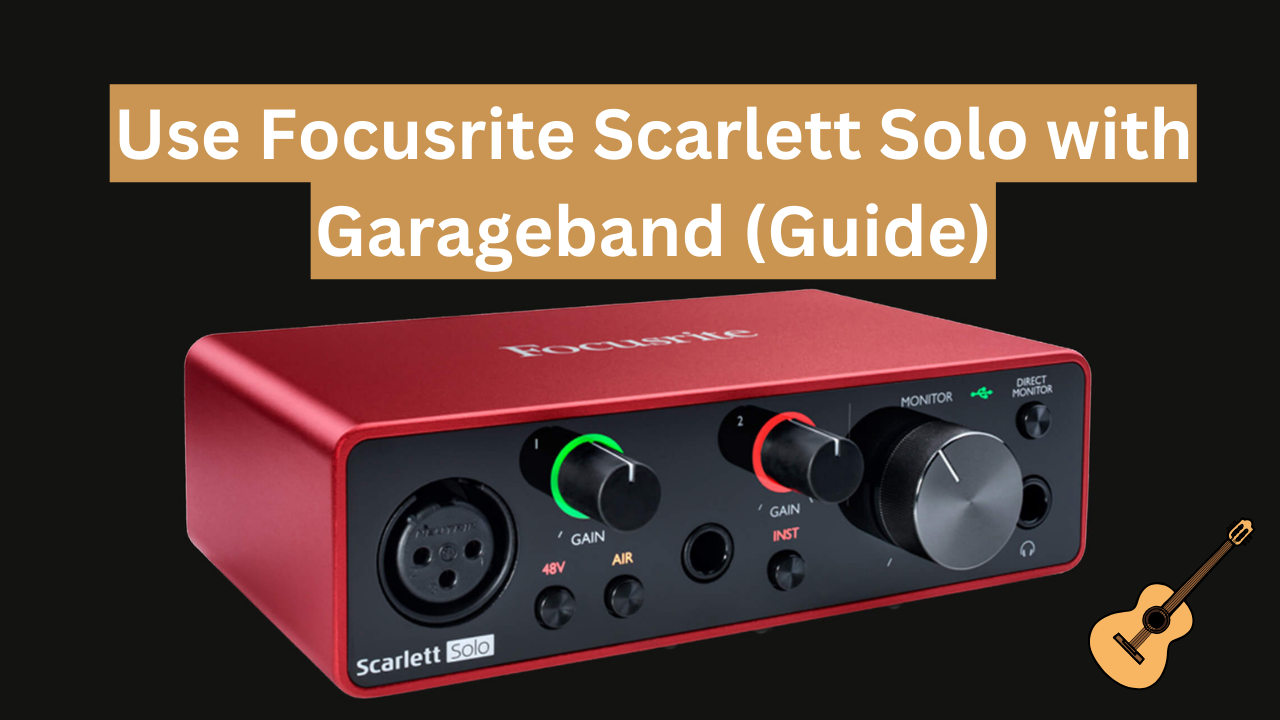
What is the Focusrite Scarlett Solo?
The Scarlett Solo is a 2-in, 2-out audio interface that brings Focusrite’s acclaimed audio quality to a compact, easy-to-use package. Perfect for solo musicians, the interface boasts an XLR input with a Focusrite preamp for crystal-clear vocal recordings and a ¼ inch input for guitar, bass, or other line-level devices. Not only is it simple to connect and operate, but its robust build quality ensures it can handle the demands of travel and frequent use.
Highlight features include:
1. Plug and Play: Easy setup with no need for external drivers.
2. Compact Design: Portable and perfect for small studio spaces.
3. High-Quality Audio Recording: Capture superb audio clarity at up to 24-bit/192kHz resolution.
4. Direct Monitoring: Allows for latency-free monitoring of recordings.
5. Air Mode: Adds brightness and presence to your recordings, emulating Focusrite’s ISA console transformer.
Setting Up Your Focusrite Scarlett Solo with Garageband
1. Connecting the Scarlett Solo: Begin by connecting your Scarlett Solo to your computer using the supplied USB cable. Since it’s a plug-and-play device, your operating system should recognize it immediately without needing additional drivers.
2. Setting Up Garageband: Launch Garageband and create a new project. Navigate to Garageband’s preferences section (Garageband > Preferences > Audio/MIDI) and ensure Scarlett Solo is selected as both the input and output device.
3. Adjusting Input Levels: With your microphone or instrument connected to the Scarlett Solo, adjust the “Gain” knob to set the appropriate level. The aim is to avoid clipping while capturing the strongest signal possible.
Recording With The Scarlett Solo in Garageband
1. Selecting Inputs and Outputs: In your Garageband project, select the appropriate input source for your track based on where you’ve connected your instrument or microphone on the Scarlett Solo.
2. Monitoring and Adjusting Levels: Utilize the direct monitor function on the Scarlett Solo to hear what you’re recording without latency. Adjust the gain as needed to ensure clean, undistorted sound.
3. Tips for Optimal Recording Quality: Experiment with microphone placement and the Scarlett Solo’s “Air” mode to capture recordings with added clarity and character.
Editing and Mixing
GarageBand provides an intuitive platform for editing and mixing your recordings. Thanks to the high-fidelity audio captured by the Scarlett Solo, your tracks will maintain their quality, allowing for professional-grade production within the software. Utilize Garageband’s array of editing tools and effects to refine your project.
Exporting Your Project
Once your project is polished to perfection, exporting it is straightforward with Garageband. Choose “Share” from the main menu and select the format that best suits your needs. Your high-quality recording is now ready for the world to hear.
Troubleshooting
If you encounter any issues during the setup or recording process, the Focusrite website is a treasure trove of troubleshooting tips and support options to help you resolve common problems.
Also Check: How to Add Fade Out Effects in GarageBand
FAQs
Q: What should I do if my Scarlett Solo isn’t recognized by my computer?
A: Ensure you have the latest Focusrite drivers installed. If the issue persists, try connecting the Scarlett Solo using a different USB cable and port.
Q: Can I record multiple tracks simultaneously with the Scarlett Solo?
A: The Scarlett Solo is designed for single-channel recording, meaning you can record one source at a time. If you require simultaneous multi-track recording, consider a larger interface like the Scarlett 2i2 or 4i4.
Q: Why am I hearing a delay when monitoring through headphones?
A: This could be due to latency settings. Use the direct monitor feature on the Scarlett Solo for real-time playback, or adjust your DAW’s buffer settings to minimize latency.
Q: How do I activate the “Air” mode, and what does it do?
A: The “Air” mode can be activated via a switch on the Scarlett Solo, enhancing your recordings with clarity and brightness, especially for vocals. It emulates the classic Focusrite ISA mic preamp’s transformer-based sound.
Q: My recordings sound quiet or distorted. How can I fix this?
A: Ensure your gain levels are properly set. If the signal is too quiet, increase the gain but avoid pushing it too high to prevent distortion. Also, monitor your input levels within Garageband to make sure they’re in the optimal range.
Q: How can I get the best sound quality when recording with the Scarlett Solo in Garageband?
A: Apart from the technical setup, room acoustics play a crucial role. Record in a quiet, acoustically treated room when possible. Experiment with microphone types and placements to find the best sound for your project.
Conclusion
Combining Focusrite’s Scarlett Solo with Garageband presents a fantastic opportunity for artists to produce high-quality recordings without breaking the bank or getting bogged down in technicalities. Following this guide, you’re well on your way to capturing professional-sounding music or any audio project you’re passionate about. Happy recording!