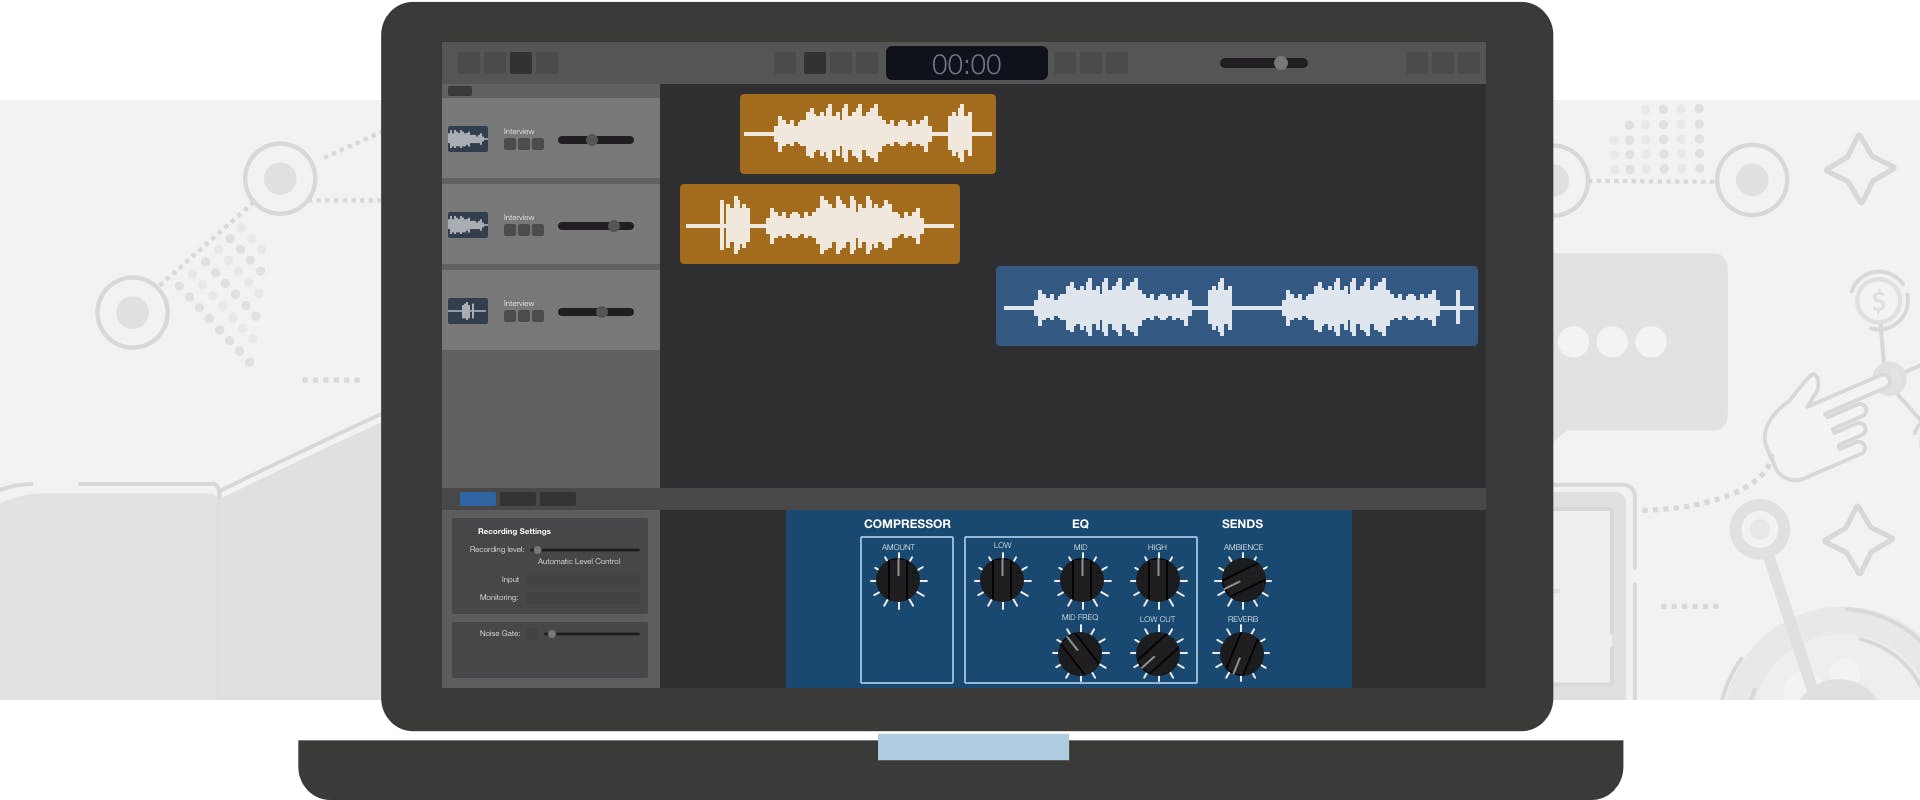
Slowing down a track in GarageBand can be essential for various reasons, such as creating a certain mood in your music, practicing along with a piece at a slower speed, or fine-tuning your editing process. Regardless of whether you’re working with an audio recording or a MIDI file, GarageBand 10.4.11 simplifies this process. Below is a step-by-step guide for both types of tracks.
Slowing Down an Audio Recording
- Open Your Project: Launch GarageBand and open the project containing the audio track you wish to slow down.
- Select the Track: Click on the audio track you want to adjust. It will become highlighted, indicating it is selected.
- Open the Track Editor: Look for the Track Editor button on the left side of the GarageBand interface and click on it. This section allows you to access detailed settings for the selected track.
- Adjust the Tempo: In the Track Editor, find the “Region” section, which displays the tempo information for the selected audio track. You’ll see a slider or a tempo value box — adjust the tempo by moving the slider to the left or entering a lower tempo value. This action will slow down the playback speed of the audio.
- Test the Adjustment: Play the track to listen to the tempo change. You may need to fine-tune the tempo to achieve the desired speed.
- Save Your Project: Once satisfied with the new tempo, make sure to save your project to retain the changes.
Also Read: Techniques for Adding Fade Out Effects in GarageBand
Slowing Down a MIDI File
- Select Your MIDI Region: In your project, click on the MIDI track that you want to modify. Ensure it is highlighted.
- Access the Track Editor: Similar to the audio track, click on the Track Editor to bring up the editing options for your selected MIDI region.
- Modify the Tempo: Within the Track Editor, locate the tempo controls. For MIDI files, the tempo adjustment will affect the playback speed of the MIDI notes. Adjust the slider to the left or input a lower tempo value to slow down the track.
- Play and Adjust: After adjusting the tempo, play the MIDI track to ensure the new tempo aligns with your expectations. Adjust further if necessary.
- Save The Changes: Don’t forget to save your project after making the adjustments to keep the slowed-down version of your track.
Slowing down tracks in GarageBand allows for greater creative control and precision in your music production process. Whether dealing with audio recordings or MIDI files, the key steps involve selecting the track, accessing the Track Editor, adjusting the tempo, and saving your project. With these simple steps, you can effectively slow down any track to suit your needs in GarageBand 10.4.11.

